As mentioned in my previous blog post I use a Raspberry Pi server in my local network/LAN. So far it hosts two applications: Pi-hole for ad-blocking and HomeGallery as an internal photo gallery. In this blog post I explain the installation and configuration of the Pi-hole.
Raspberry Pi-hole

Pi-hole
Pi-hole is a local DNS which blocks domains used for ads and tracking. The current default blocklist contains over 93,000 entries which the Pi-hole resolves to 0.0.0.0 thus making the domain inaccessible (for everyone using your Pi-hole as DNS). Installation is straight forward as you see in the installation instruction.
This is the easy part. I recommend to install the Web UI. You can access it via the IP of your Raspberry server, e.g. http://192.168.12.34/admin. You can also use a local domain name, such as raspberry.lan or similar. I'll cover this in a later blog post. If everything works, you can already query your Pi-hole DNS using the following command.
You should see a result like the following.
Now comes the tricky part: in order to enable the Pi-hole for all devices in the network (even those which have not joined yet) you have to configure your DHCP (probably in your router) to send the Pi-hole IP as default DNS to all clients. Please search the settings of your DHCP (and the web). I cannot help you on this since routers are rather different. My Amplifi HD router allows to set the DNS via a smartphone app but does not send the configured DNS via DHCP — unless you disable some caching option you can only see in the Web UI and not in the smartphone app.
After you changed your DHCP settings and your client received the new DHCP information, querying a blocked domain should look like this.
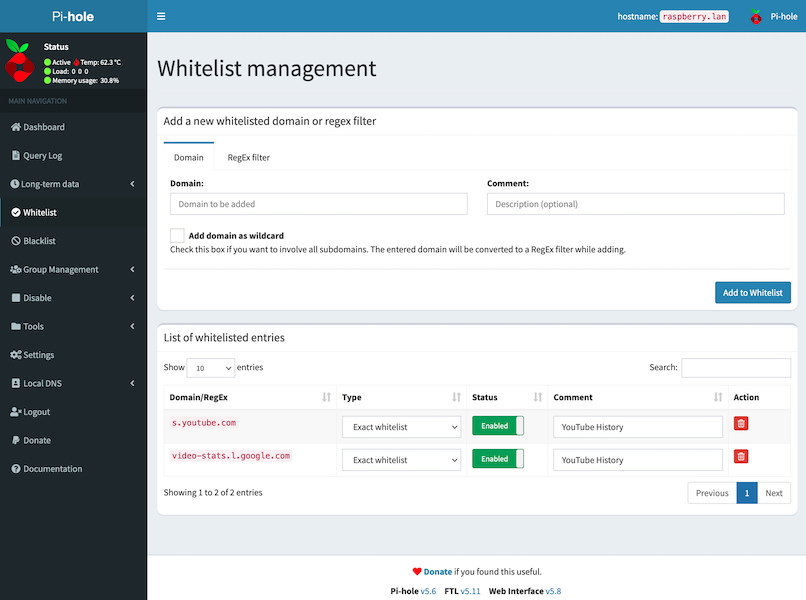
Note that the Pi-hole is rather strict by default and something might not work anymore. You can always allow certain domains. Personally I added some to enable my YouTube history again, namely:

Individual clients in your LAN can opt-out by overriding the DNS provided via DHCP. Those clients are unaffected by the Pi-hole.
Thanks for reading this far. If you want to learn more check the website of the Pi-hole. It is an open source project so feel free to contribute or donate. As always, please get in touch if you have questions or feedback.

