Welcome back to our small journey into the depths of our (my) favorite text editor Vim. Last time we had a quick look at the basics. Hopefully you could get yourself acquainted with vimtutor. By now you should have a basic understanding of how Vim works and how the modal editing approach differs from other editors. This time we will have a look into a few more advanced features:
DISCLAIMER: Throughout this blog post you will find some illustrational example gifs. These gifs do not visually represent the vanilla Vim experience. The appearance of the editor has been heavily modified and tailored to my personal needs. However apart from that everything shown in these gifs can be done with a vanilla Vim installation. Furthermore some commands are very easy to type if you are using the US QWERTY keyboard layout, but might be cumbersome otherwise (e.g. if you are using a german layout).
Quicktip: To scroll the current line to the top, center or bottom, press 'zt', 'zz' or 'zb' in normal mode
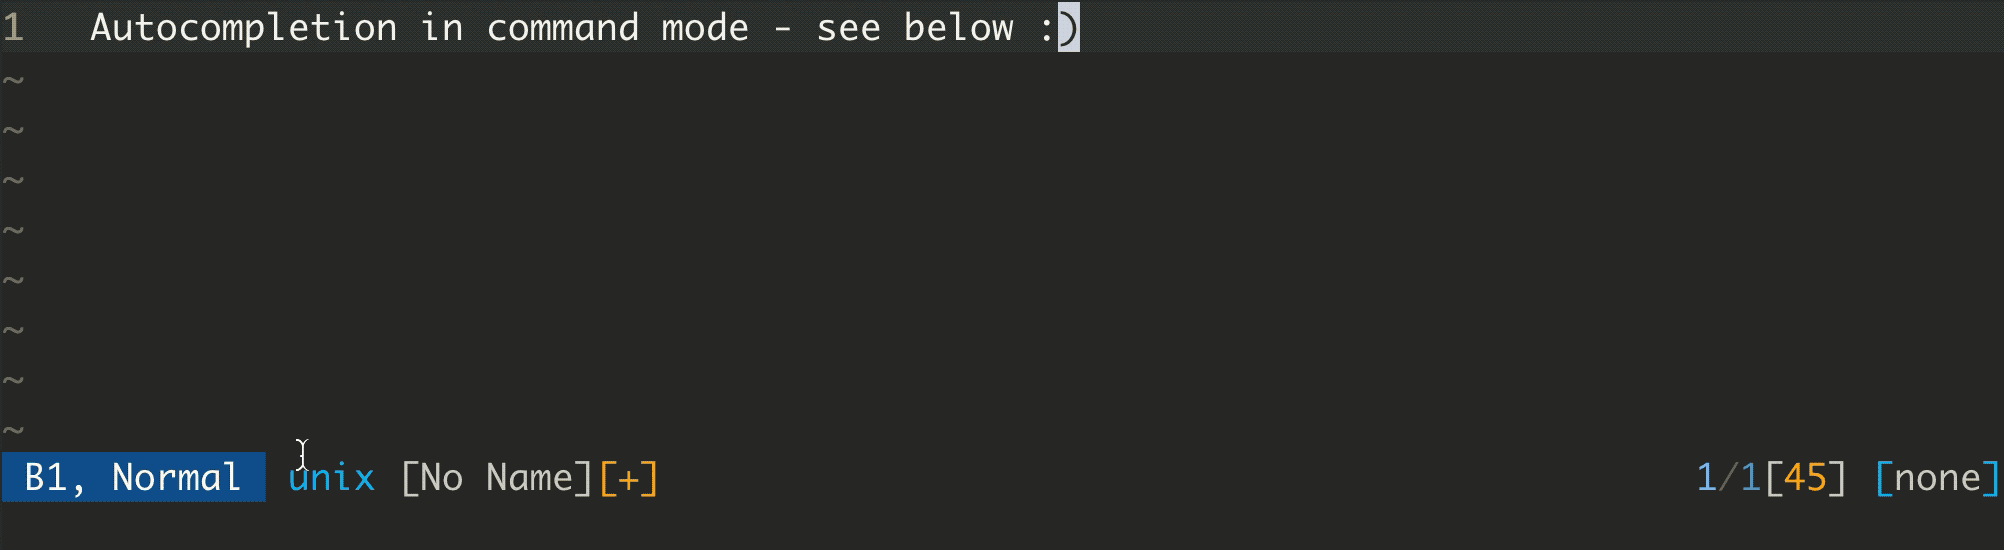
Enter Command Mode
So let's jump right in and have a look at command mode. You do already know insert mode and normal mode. Strictly speaking you probably also do know a bit of command mode as well. If you opened up Vim at least once and tried to close it (which you should have done during the vimtutor tutorial), you already came to grips with this mode.
You enter command mode by simply pressing ':' within normal mode. This will start a prompt lead by the colon at the bottom of your Vim window. At this point you are able to type in commands to do a wide range of things. So - as you probably already know - to save the file you edited and close the buffer (more on that later) you would type ':wq' followed by the enter key. The 'w' stands for "write" and 'q' for "quit" here.
There is a lot of things you can do with command mode, e.g.:
open documentation/help for all possible Vim commands with ':h <command>'
operate on selected ranges (you need visual mode for that, which we will discuss in another blog entry)
search and replace text via substitute
configure your running Vim instance (for example to activate spell checking)
manage splits, windows and tabs
open registers
use plugins
Of course this is list is not exhaustive and nowhere near complete.
You can also use auto completion with 'tab' on each of these commands to show a list of commands and step through it.
To do so you first have to set the following configuration: Open up command mode via ':' again. Now simply type 'set wildmode=list:longest'. Now, whenever you type in a command and press 'tab' a list of options will appear. If you press 'Ctrl+n' or 'Ctrl+p' you can then step through them. Be aware that this configuration is only temporary. If you close and re-open vim it will not persist. In a future article I will go into much more detail on how to make your Vim configuration permanent.
Quicktip: To quickly fix the indentation of a file type 'gg=G'
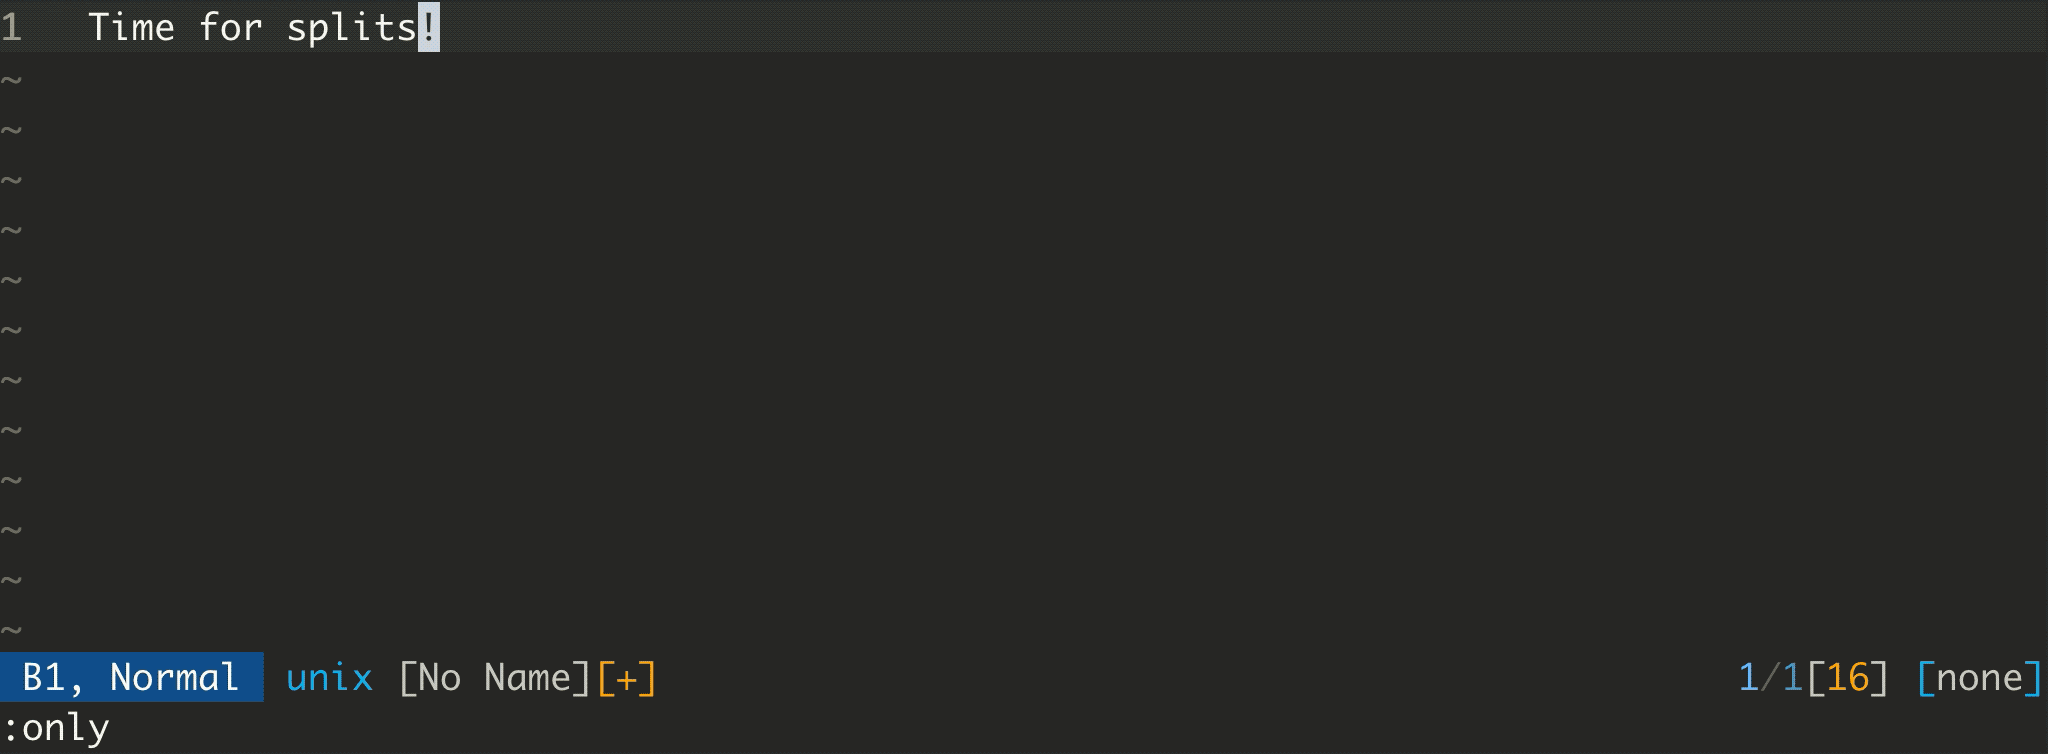
Files, Windows, Tabs, Splits, Buffers - what?
When editing a single file one window will usually be enough. But it might occur that you want to open multiple files and navigate between them. What I casually called window in the sentence above, is actually a bit more complex. There are multiple concepts at play regarding opened files in Vim.
Let's start with windows. Windows are pretty much what you would expect them to be. A single window always shows a single file. Whenever you open Vim, it will open with a single window. If you haven't directly started Vim with a file to open, you can open one from inside Vim with the ':edit <filename>' command. You can also complete and step through filenames with 'tab'.
To open multiple windows side by side you can do so by using splits. You have probably used splits in other editors before. You can split a window horizontally with the ':split' command or vertically with ':vsplit' (many commands can be shortened, e.g. ':help' -> ':h',':split' -> ':sp',':vsplit' -> ':vs'). By default this will open another window next to the first one, which contains exactly the same file. This can come in handy if you want to write somewhere in your file, while still having a look at another part of it.
To move between your open windows you need to first press 'Ctrl+w' and afterwards 'Ctrl+' the corresponding direction ('h', 'j', 'k','l'). You can also resize your windows with the ':resize <amount>' and ':vertical resize <amount>' commands.
If you want to even out the size of your windows, press 'Ctrl+w' followed by '='.
A set of windows can be organized into a tab. To open a new tab use the ':tabedit' command. This opens a new window inside another tab. You can then move between tabs with 'gt' and 'gT'. The former moves you to the next open tab, while the latter targets the next tab in the opposite direction. You can also specify the tab number: '4gt' would move you to the fourth tab. Tabs might look very appealing for file management if you are coming from another editor and are used to them. But wait until you find out about buffers and how you could use those. You will probably rarely use tabs for your file management. The actual strength of tabs lies in the possibility to arrange different window and split configurations.
So let's have a look at buffers, shall we? Generally speaking a buffer is nothing more than a file which has been opened by Vim and is kept in memory. By "opened" I don't mean it has to be visible in a window at all. It just must have been loaded into memory. Whenever you open a file its buffer will stay in memory until you explicitly get rid of it or close Vim. You can access these buffers at any time and load them into a window. Moreover you can list buffers, step through them or even apply commands simultaneously to all of your opened buffers.
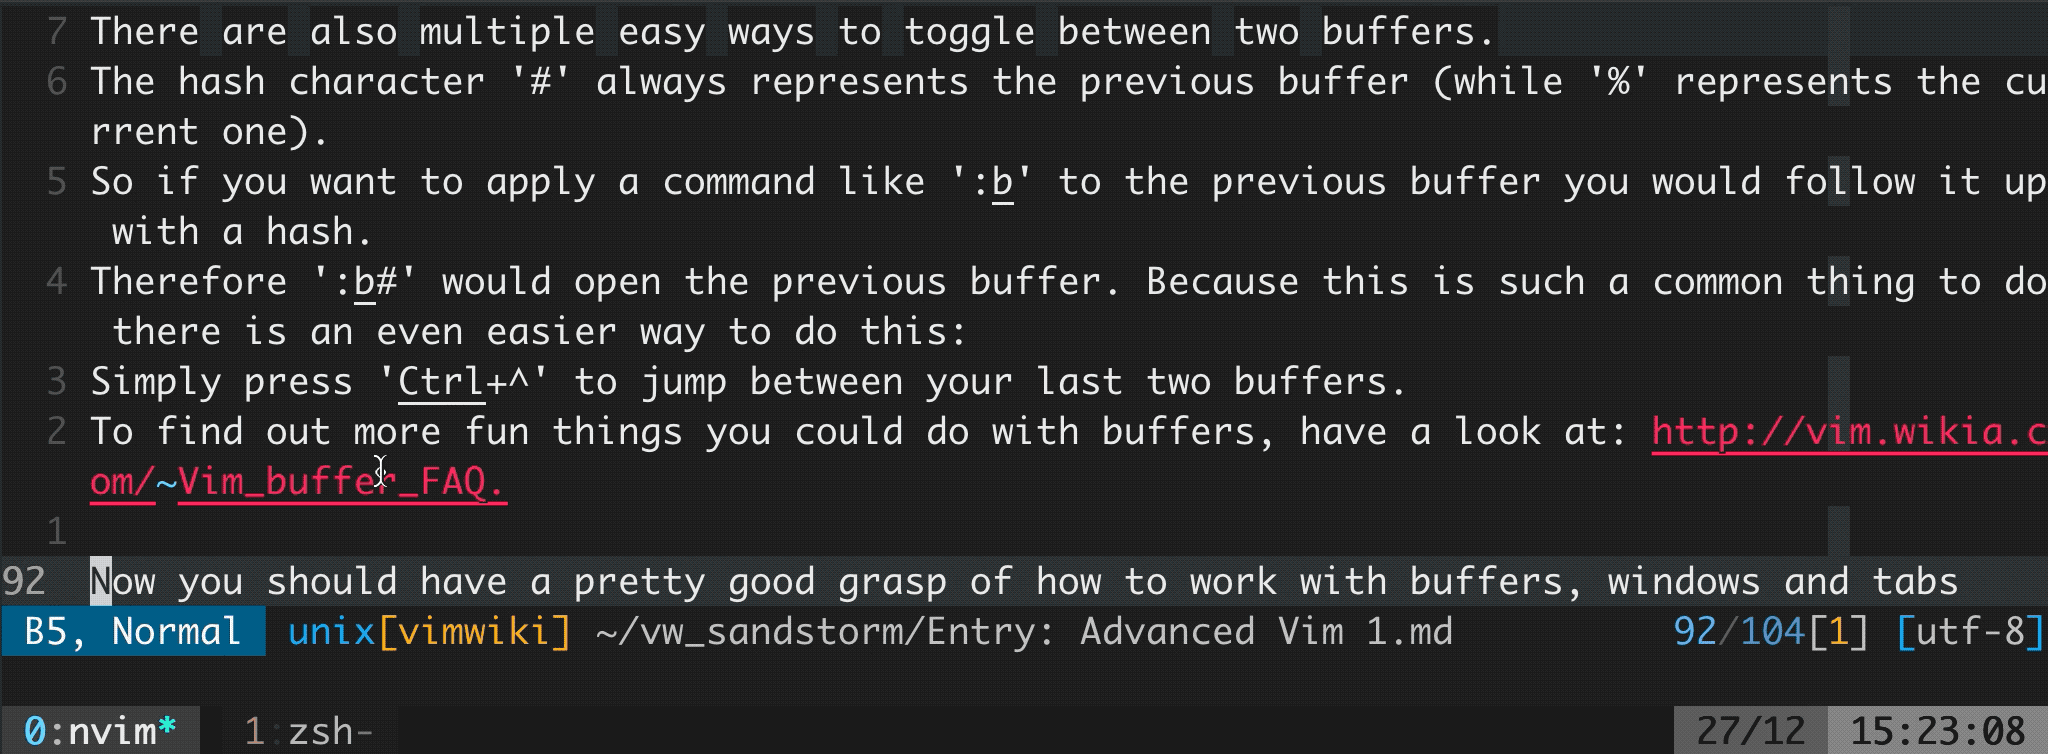
Buffers make it very easy to navigate between your opened files. To see a list of all currently opened buffers use the ':ls' command. This will show a list where each entry is preceded by a number. To access a specific buffer switch into command mode again and type ':b <number>'. You can also just use the filename instead of the number. Of course this supports autocompletion as well.
There are multiple easy ways to switch between two buffers. The hash character '#' always represents the previous buffer (while '%' represents the current one). So if you want to apply a command like ':b' to the previous buffer you would follow it up with a hash. Therefore ':b#' would open the previous buffer. Because this is such a common thing to do there is an even easier way to do this: Simply press 'Ctrl+^' to jump between your last two buffers. While it might take a while to really wrap your head around the concepts of buffers you will soon appreciate the immense power that comes with them. To find out more fun things you could do with buffers, have a look at: http://vim.wikia.com/wiki/Vim_buffer_FAQ.
Quicktip: To save and close an open file, press 'ZZ'
Check your spelling ☝️
Now you should have a pretty good grasp of how to work with buffers, windows and tabs inside Vim. Before I finish this article I would like to show you one more small trick that is especially useful for writers: spell checking. To enable spell checking for the language of your choice, simply use the following command: ':set spell spelllang=en_us'. You can easily move between misspelled words by typing ']s' or '[s' inside normal mode. Whenever your cursors location is at a misspelled word your can press 'z=' to open a list of possible corrections. Then you simply need to type in the corresponding number followed by the enter key to change that word.
And thats it. Next time we will explore how you could traverse a file even more efficiently with some advanced motions, embrace the power of relative line numbers and cover marks and a super efficient shortcut. We will also have a quick look at another mode: visual mode.