Christoph Dähne | 21.06.2019
Raspberry Pi Schnellstart (Teil 1)
- Tech
I finally had some time to work on the remote controlled Raspberry Car, which I have already presented in many previous German blog posts.
It was actually already finished — with just one small thing missing: the streaming server for the control and image signals didn't have any login yet, so I couldn't host it on the internet.
Well, implementing a login for the 1000th time is something I like to put off. Now, a few years later, I thought to myself: hey, it's not that much work. We now have a message bus, Nats.io, which does exactly what we need: sending data packets from A to B with login and permissions for certain users.
Perfect! So it's almost finished, I thought. But I couldn't have been more wrong. I only had to implement Nats.io in the Operator App, I thought — but it was a web app shipped by a server which I want to replace by Nats.io. Well, just make it a desktop app with Tauri. It can't be that difficult, I thought. It turned out in Tauri, the communication with Nats.io has to be implemented in Rust. Well, just learn Rust as you go, I thought. This I can only recommend, but by the book and not as you go by trial and error.
On the car, while you're at it, you could use the balenaCloud for device management and deployment. This should make things easier, I thought. Now I have a different operating system and a different deployment strategy for the Raspberry Car.
You can already see where it's going: I ended up rewriting almost everything. It was a lot of fun. I learned a lot.
The source code is on Github. In this blog post, I'm just going to pick out a few things that surprised me, that were interesting (at least to me) or that I'll take over into future projects.
Have fun reading. I hope you enjoy reading it as much as I enjoyed doing.
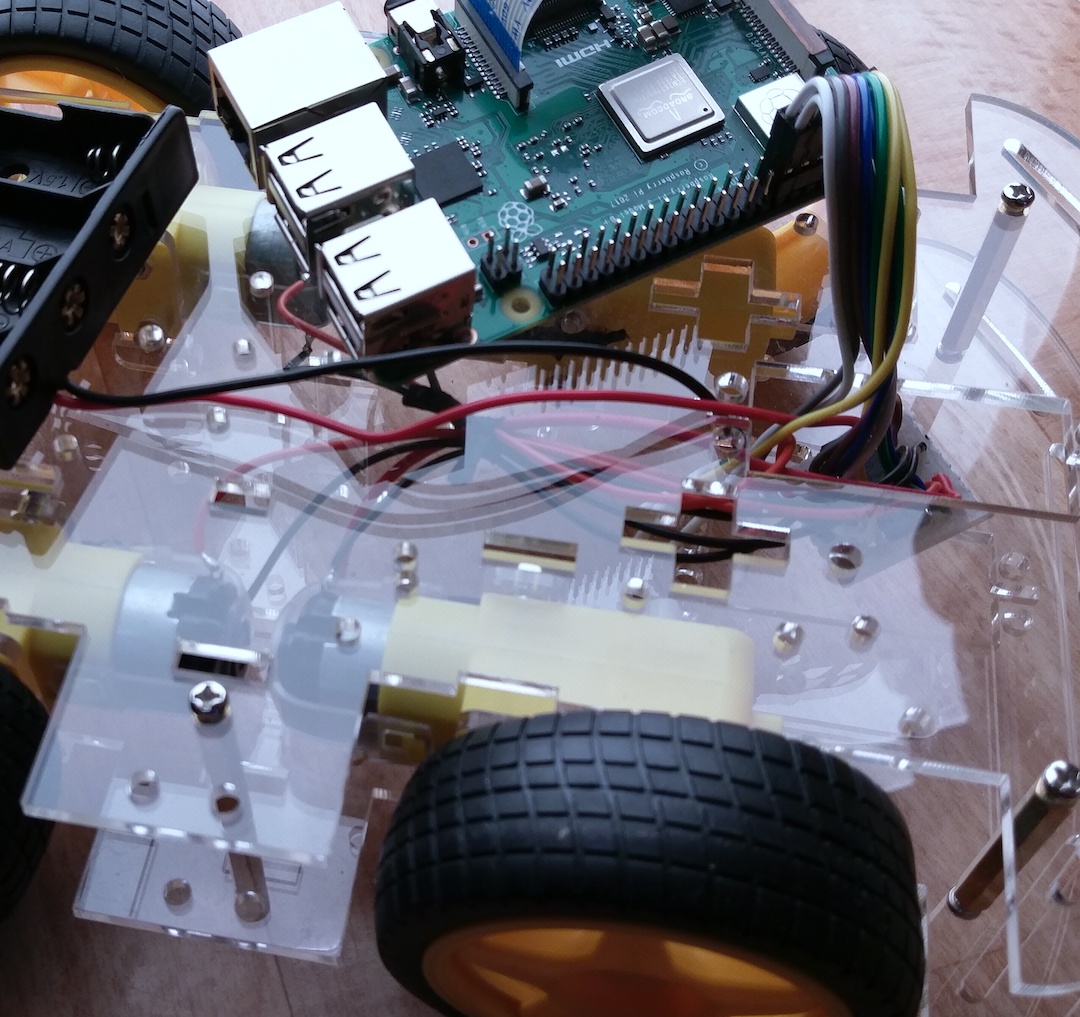
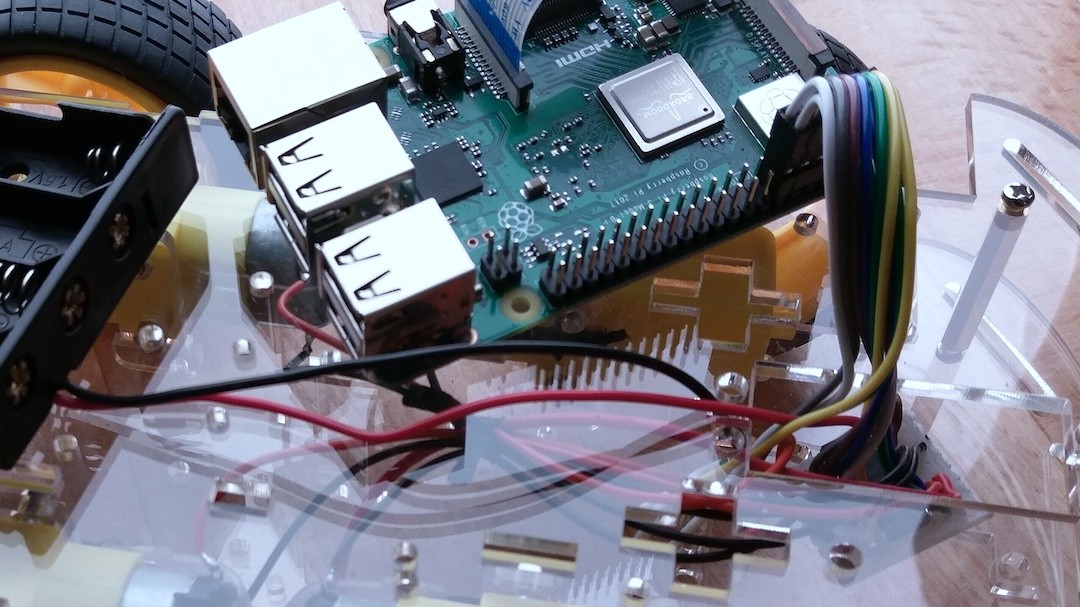
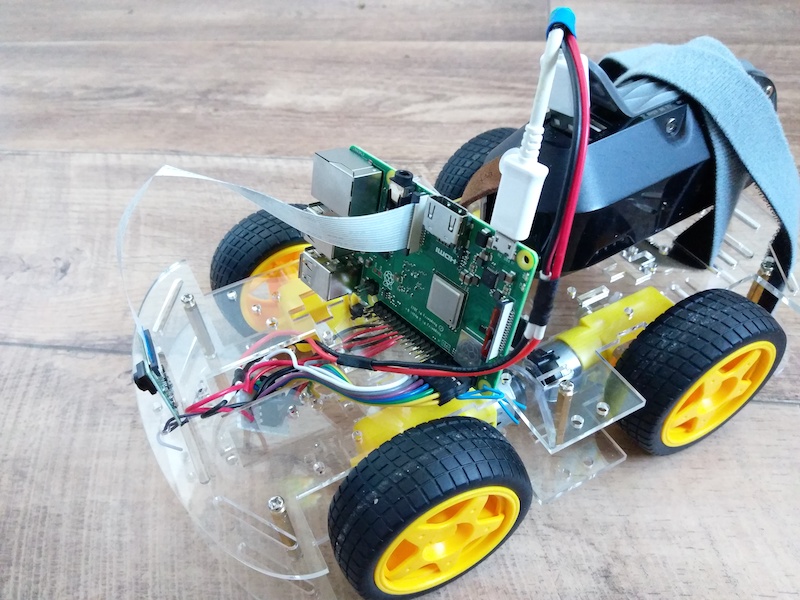
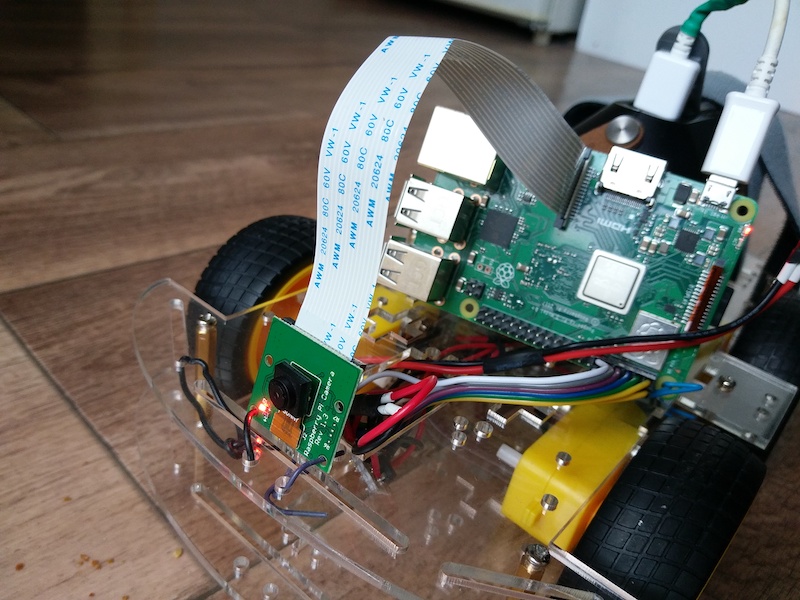
The features of the car are still the same as in the old blog posts. I can drive in different directions at the push of a button and see the video stream from the front camera (helpful when the car is in a different building). I've modified the car a bit: the circuit board and the camera are more securely attached now. But on the whole, the structure has remained the same.
Of course, for safety reasons, the car stops after two seconds if no more commands are received from the operator app. Normally, commands are sent every second. If the connection is lost, the car simply stops.
The camera switches off after ten seconds of standstill because the image no longer changes anyway. The operator sees the latest image, even if it is already 20 seconds old. The camera module shuts down, which conserves a bit of energy.

So much for the features of the car. Now come the lessons to learn from the project. For all the details of the implementation, I recommend taking a look at the source code. Walking through everything here would bloat the blog post a bit. And, depending on what you work on at the moment, you can choose where to inspect the source code.
The source code is organized according to the components. There is a "Car" folder for the Python scripts and an "Operator App" folder for the Tauri app. The "dev.sh" in the main directory contains many shell functions for local development.
As already mentioned, there are three services involved:
Note that Nats.io is not part of this project but ready to use software already in place in our infrastructure at Sandstorm. For now, you only need to know that Nats.io allows authenticated clients to send/receive messages to/from different topics (aka channels).
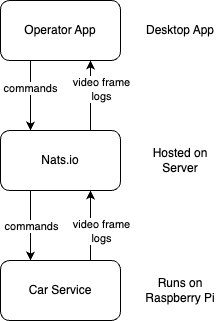
The Operator App sends commands via Nats.io to the Car and to itself, such as Forward or Left. The Car sends images from the camera modules to the Operator App. If there are several Operator Apps running, all of them receive the images and the commands from all Operators. The car receives the commands as well.
In this project Nats.io satisfies a very basic and common requirement: send data from A to B. Also, not everyone should send or read. In this project, Nats is the only part running on a server, and it is already part of our Sandstorm infrastructure.
We use Nats with great success to collect logs and metrics from our applications and server. Thanks to our Caddy Nats Bridge, we displayed additional visitor information on a laptop when scanning ticket on the entrance to the Neos Conference.
For this project, two details are relevant in particular:
TAURI is the base for the Operator App. It is written in TypeScript with SolidJs and Rust. It is a desktop application you install on your machine.
The project was a ton of fun and finally a project to learn Rust. However, the Rust memory model is not self-explanatory (at least to me) and I highly recommend reading a book: Programming Rust by Jim Blandy, Jason Orendorff, Leonora F. S. Tindall. It is a very interesting language.
The communication between the TypeScript and the Rust part of the application works like a charm. However, communication with Nats must be implemented in Rust as the TypeScript runtime lacks the required networking libs.
The project kickstarter and the developer tooling is wonderful. Only, I had trouble finding the TypeScript log console: it is right click -> inspect or Command + Option + I (just like in Chrome).
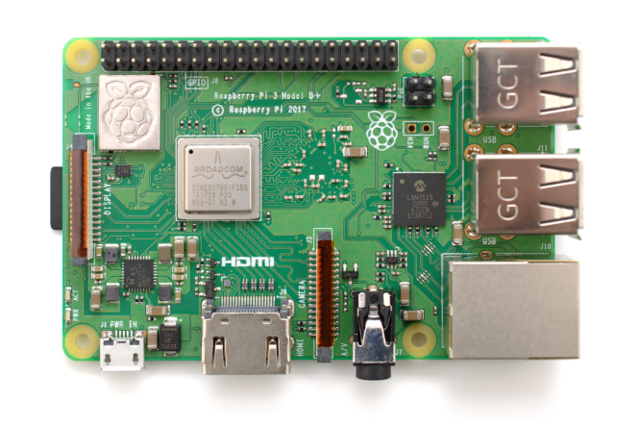
The service on the Car runs in a Docker container and is written in Python with asyncio instead of multi-threading. We use the balenaCloud to manage the Raspberry Pi device, deploy updates and collect logs. Hence, on the Raspberry Pi runs balenaOS.
The balenaCloud and the balenaOS did the trick when it comes to device management, release deployment, remote access and logging. In general, I found everything in the documentation. In rare cases I got stuck for a moment: to change WiFi settings, you need to power down the device and inject the SD card into your development machine – details like this.
As always, imho a short feedback loop is worth the effort of a local development environment. This did not work out of the box. The local mode with LAN deployments never worked and releases on weekends (this is a free-time project) took hours. Eventually, I ended up implementing own LAN deployment. Here it is (tailored to my machine):
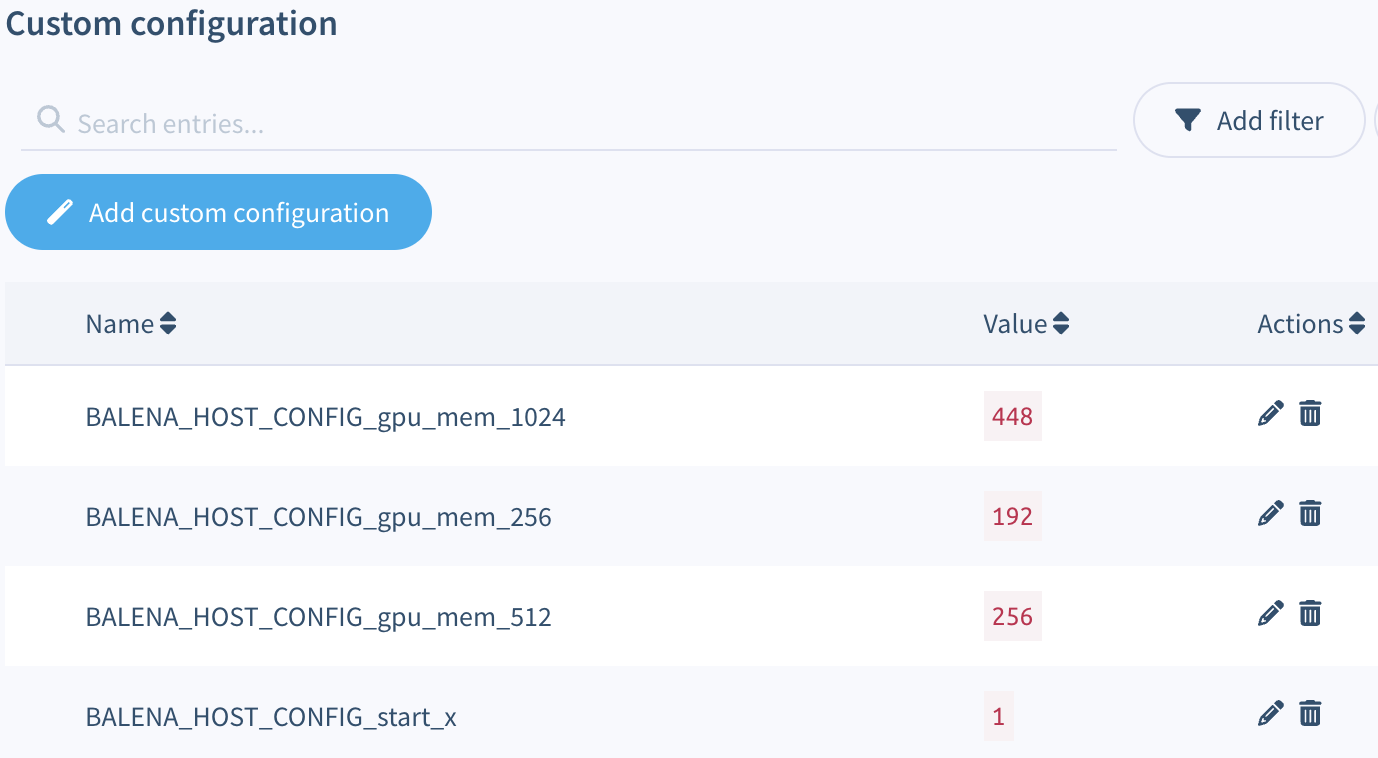
Another detail: you have to activate the camera module when using a Raspberry Pi. Thankfully, there is an example project balena-cam on Github to look at. You can set boot parameters in the balenaCloud configuration.
I exchanged multi-threading for asyncio and I can fully recommend it. The application is IO-bound and one thread/processor core is more than capable of running the service.
Numpy turned out to be as hard to install as ever (for me at least). I gave up using the Python base image provided by balena and oriented more on the one from balena-cam.
Disclaimer first: I work on an OSX machine and the development tools are tailored to it. Since most of them are Shell scripts, porting them to other operating systems should be possible.
The main tool for developments it the dev.sh. I recommend you install our Dev-Script-Runner. It is small wrapper around the dev.sh providing auto-completion and such. You can run dev -h to see all available development commands.
Since all the logic resides in a Shell script, you can re-use them in environments without the Dev-Script-Runner like build pipelines with ./dev.sh my-task.
This is such a big topic. That's why I want to focus on one thing that was particularly important in the project: profiles. I have development with a local Nats, development with the live Nats, development in the emulator and development on the real Raspberry Pi. That means I need several sets of URLs and credentials, hence profiles.
In most projects I have seen something like .env.example, .env.local.example, … containing environments variables. Many were pre-filled, but the secrets, for example, were missing. During the project setup everyone had do manually copy and create those env files.
I have completely automated this in the project. There are no more .env examples, but the profiles are shell scripts and our password management at Sandstorm is accessible via scripts. This means that the credentials are also provided automatically without having to insert them manually during the project setup. There are dedicates dev-script tasks to switch profiles copying files around.
Thanks for Reading. If you are interested into the details, check out the code on Github.

Christoph Dähne | 21.06.2019

Christoph Dähne | 01.07.2019

Christoph Dähne | 09.12.2019
Christoph Dähne | 01.01.2020
Christoph Dähne | 12.01.2020
Christoph Dähne | 17.01.2020
Christoph Dähne | 31.01.2020